

Front Brake Pads Change DIY
My little contribution to this board...
1) Make sure you have your favorite brake pads
![Image]()
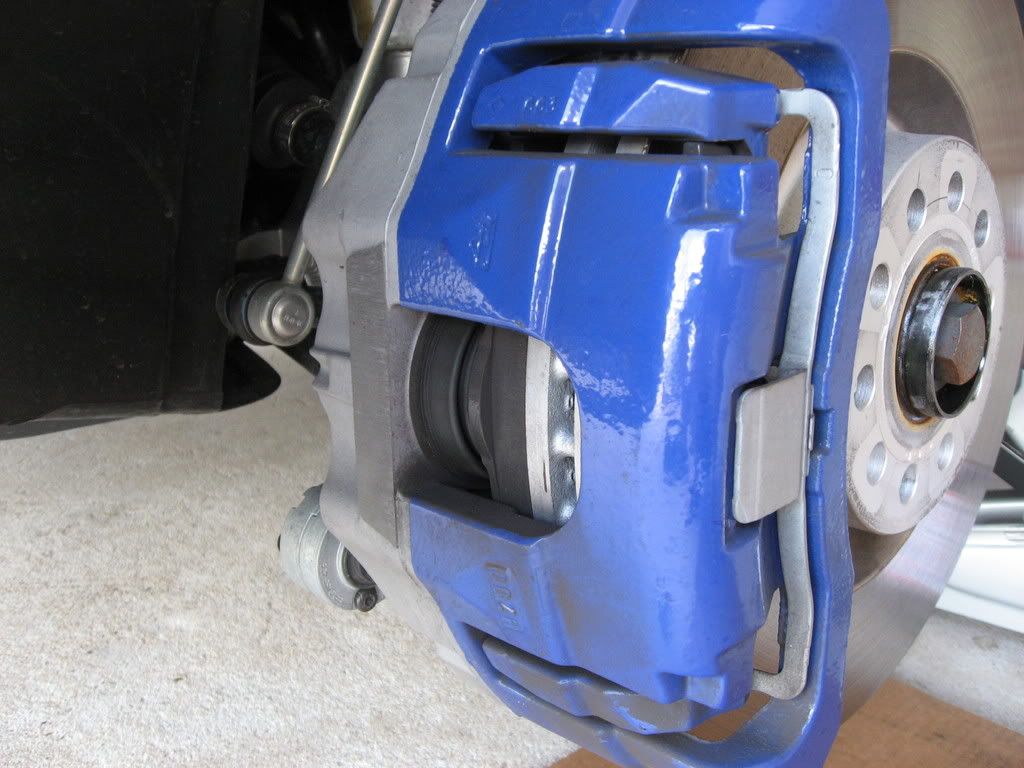
2) View of front calipers
![Image]()
![Image]()
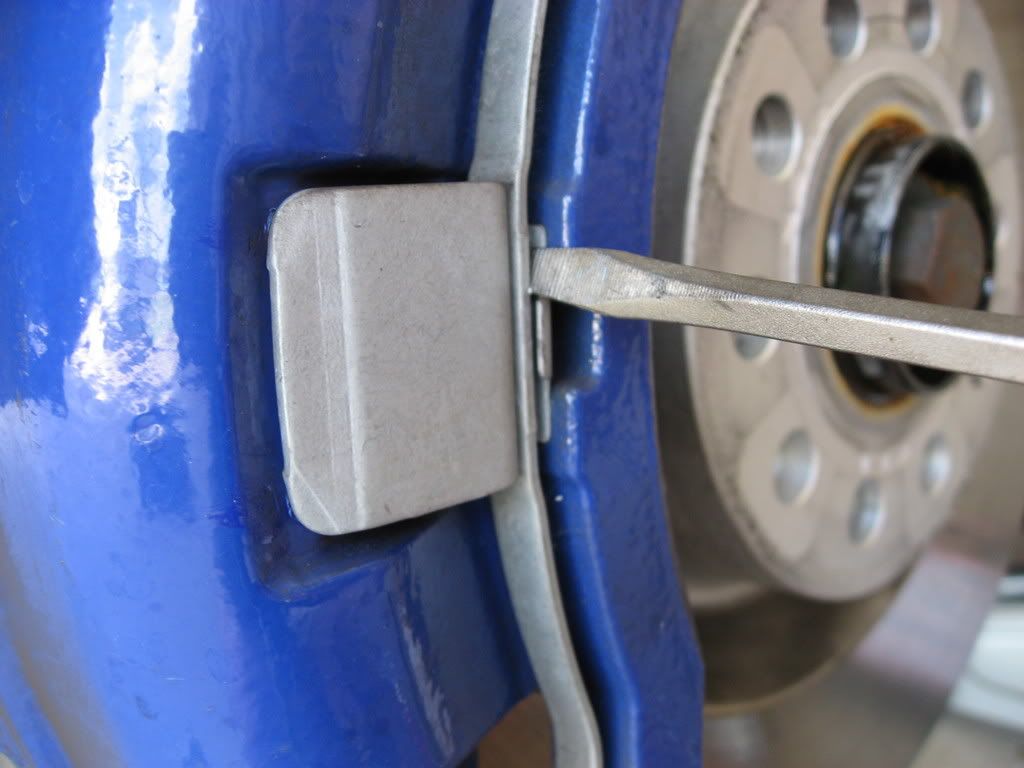
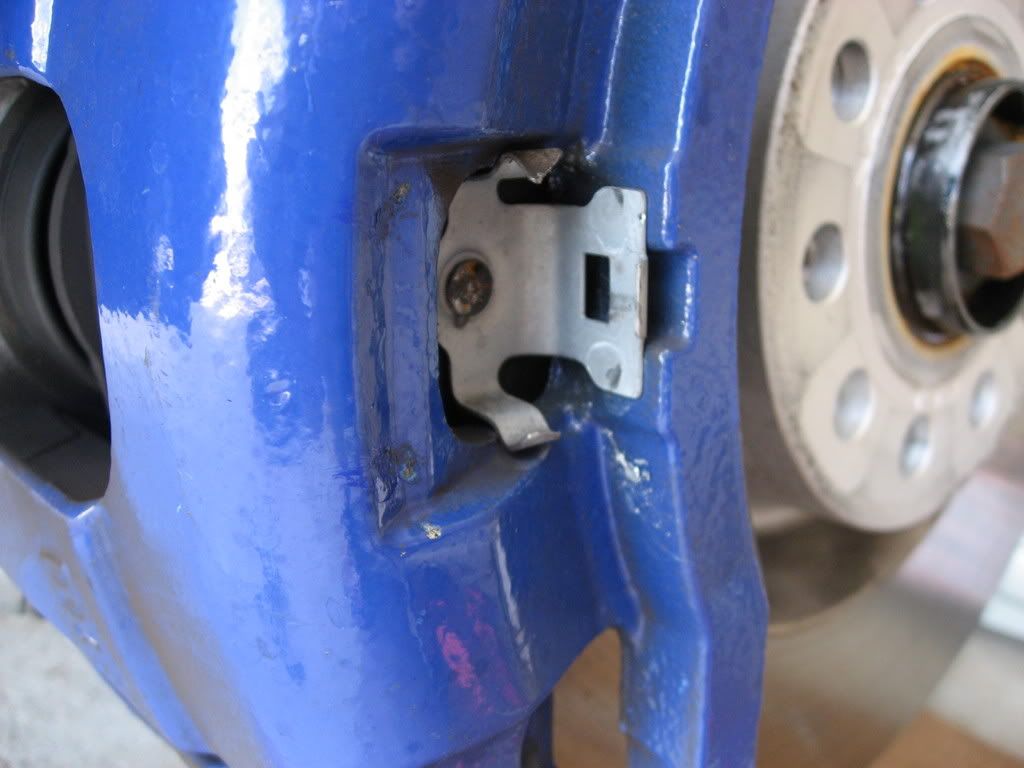
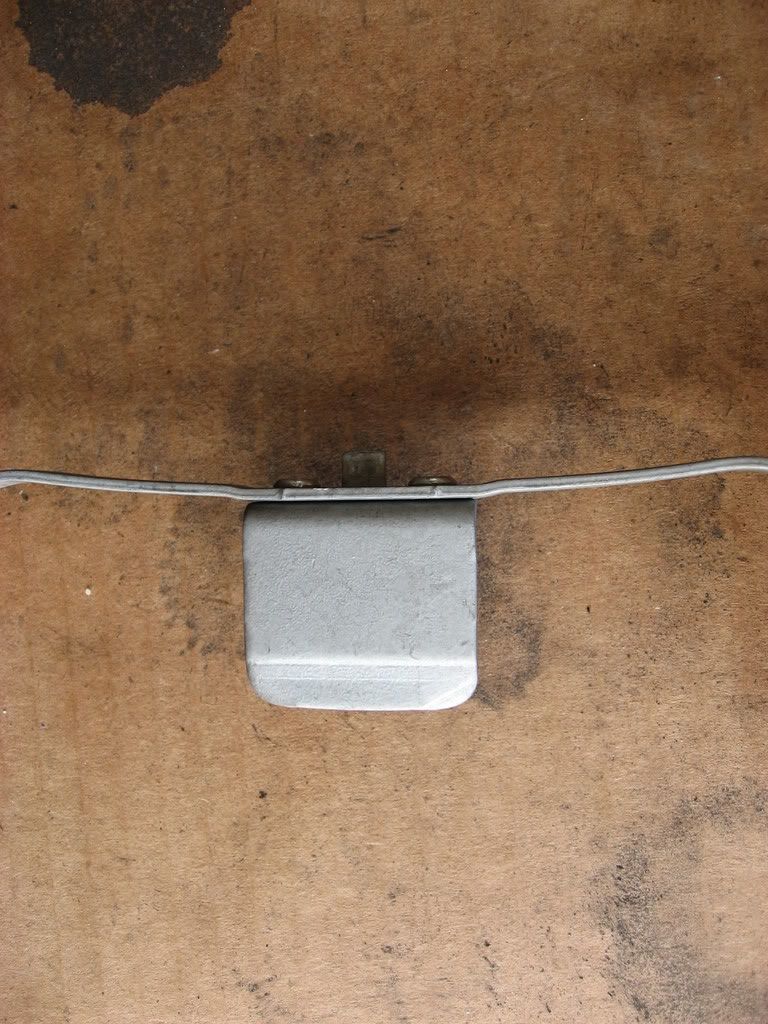
3) Remove clip from caliper, pry up and then out, there is a 'tab' that is sloted into the outside pad clip you can see in the pictures below. You need to pry the clip up till the 'tab' clears the pad clip slot before you can get it outwards towards you. This clip is going to come off with some force, and it very well will scuff off a small portion of the caliper paint.
![Image]()
![Image]()
![Image]()
![Image]()
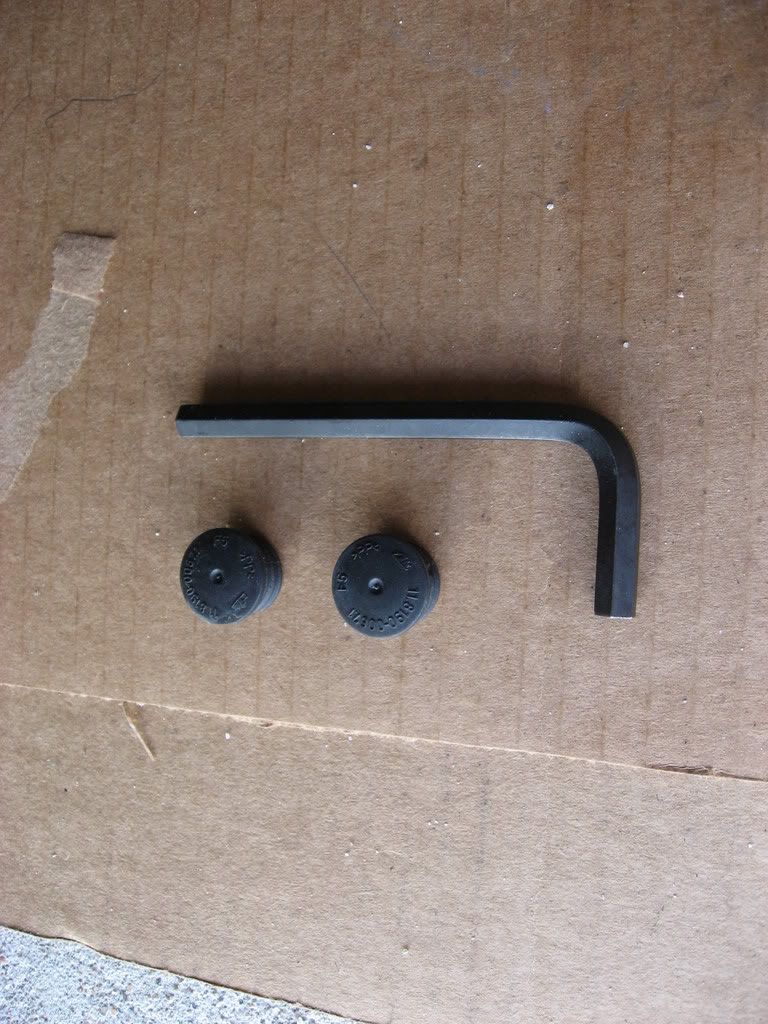
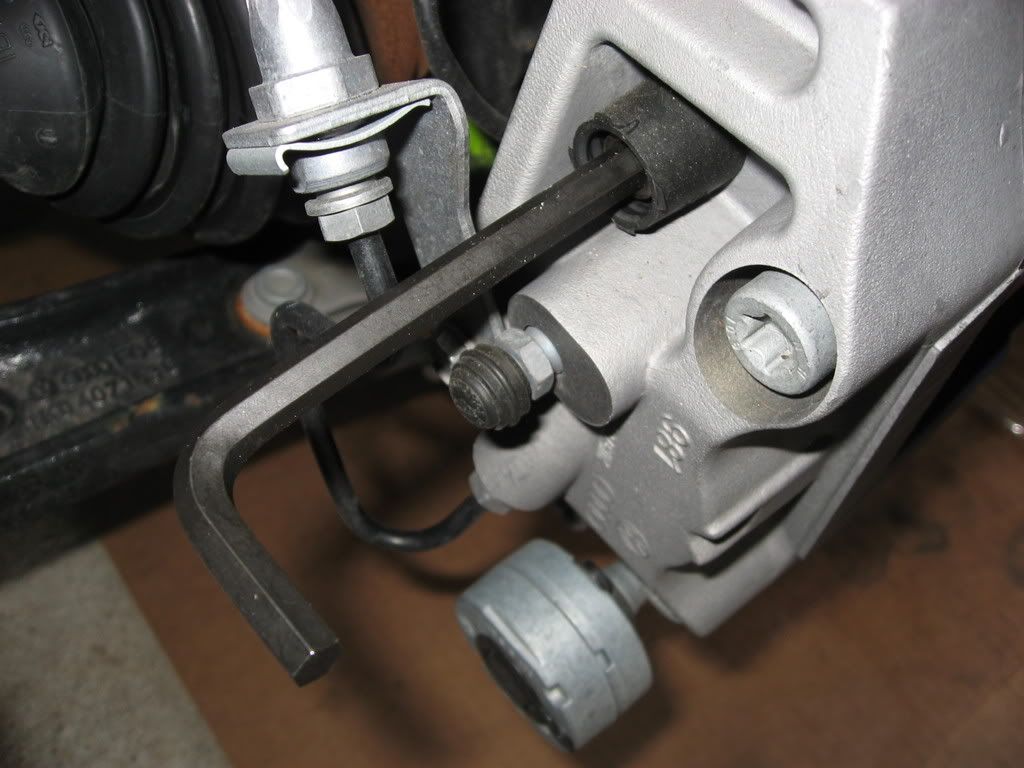
4) Remove both caliper guide bolts with a 7mm hex key, these guide bolts are covered behind 2 plastic caps on the back side of the caliper.
![Image]()
![Image]()
![Image]()
5) Upon removal of the 2 caliper guide bolts, the caliper will slide out and away from the brake disc and you can then remove both inner and outer pads. Remember to have someting to hold the caliper while its off the carrier, do not let it hang on the brake line.
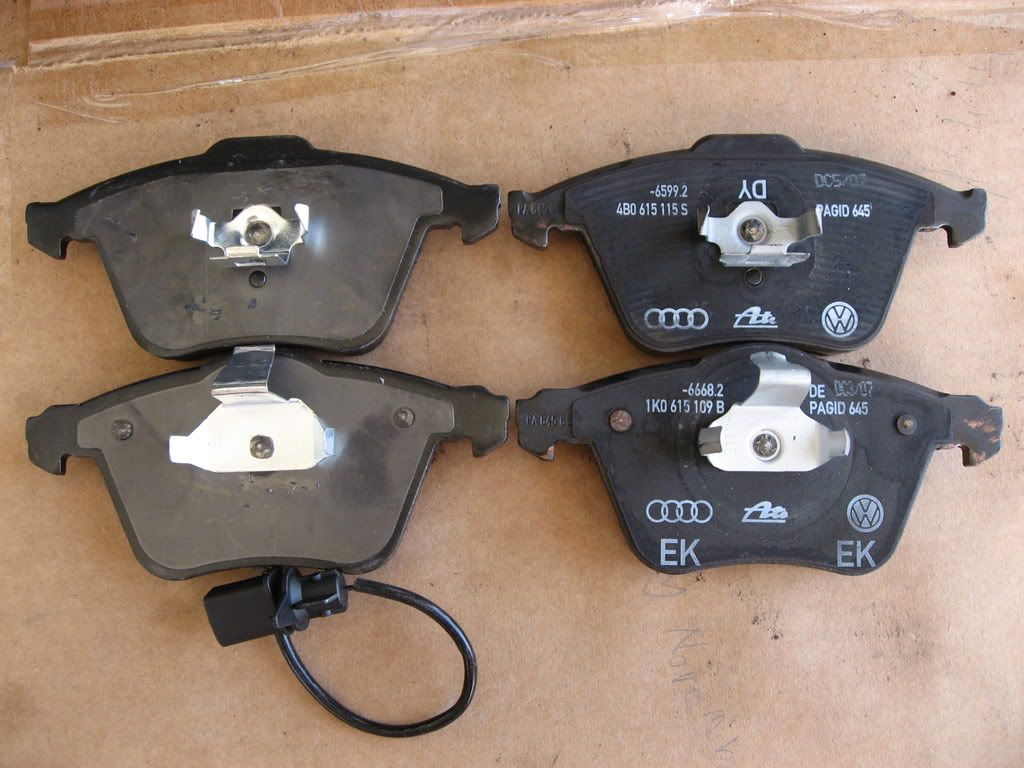
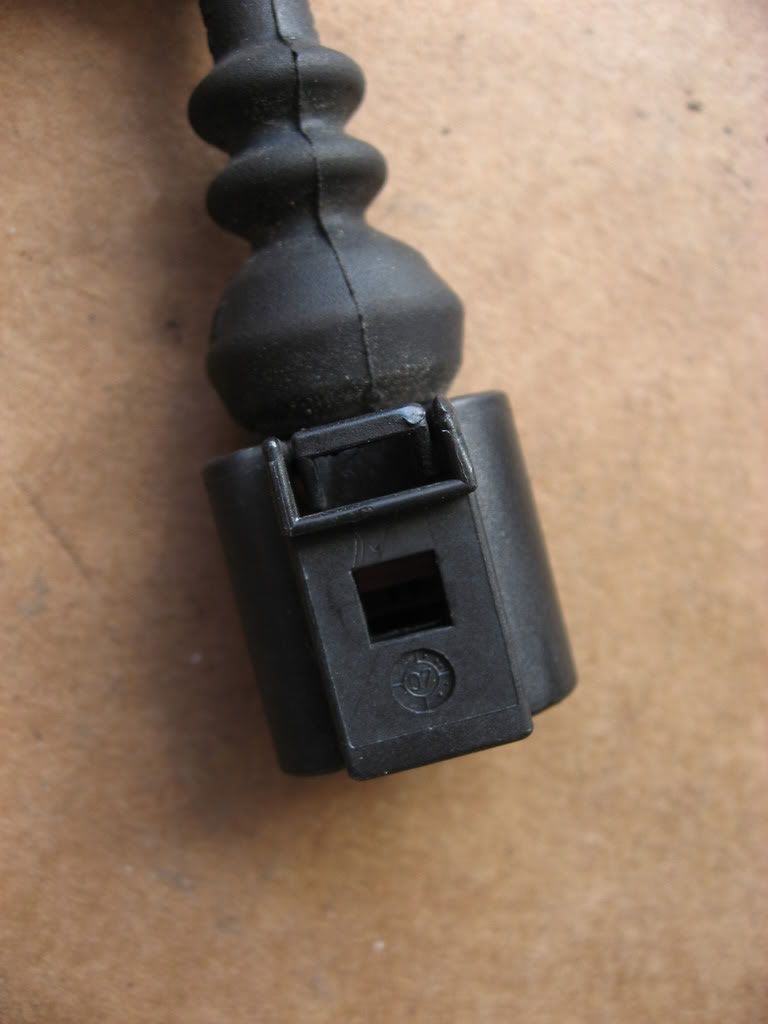
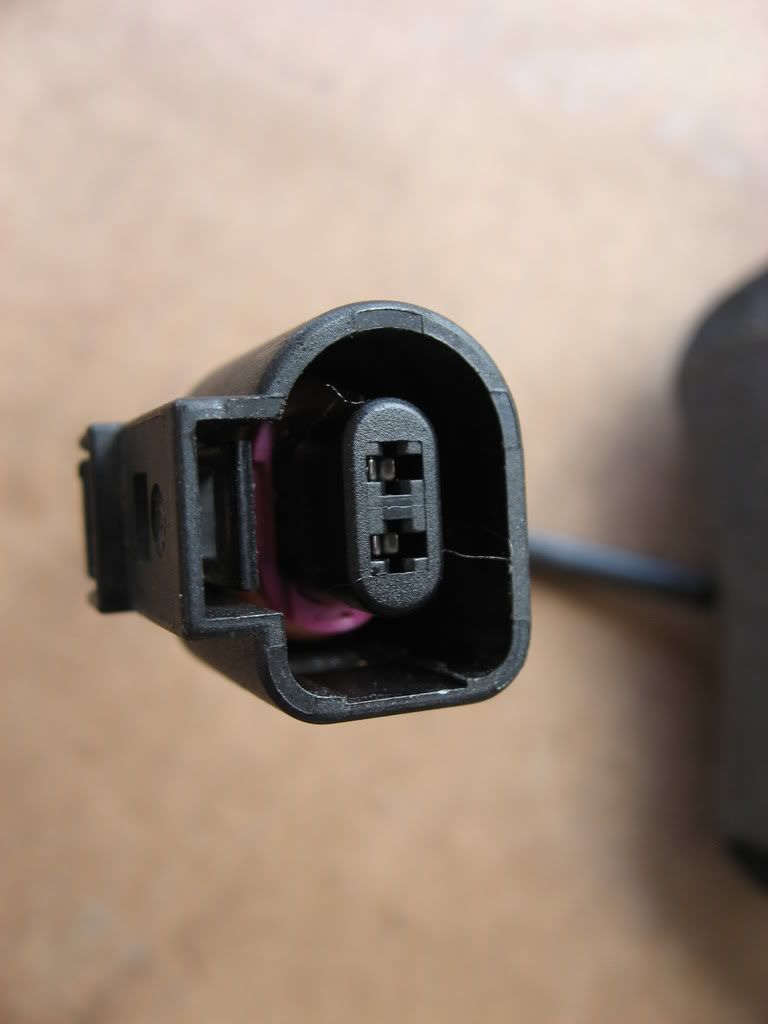
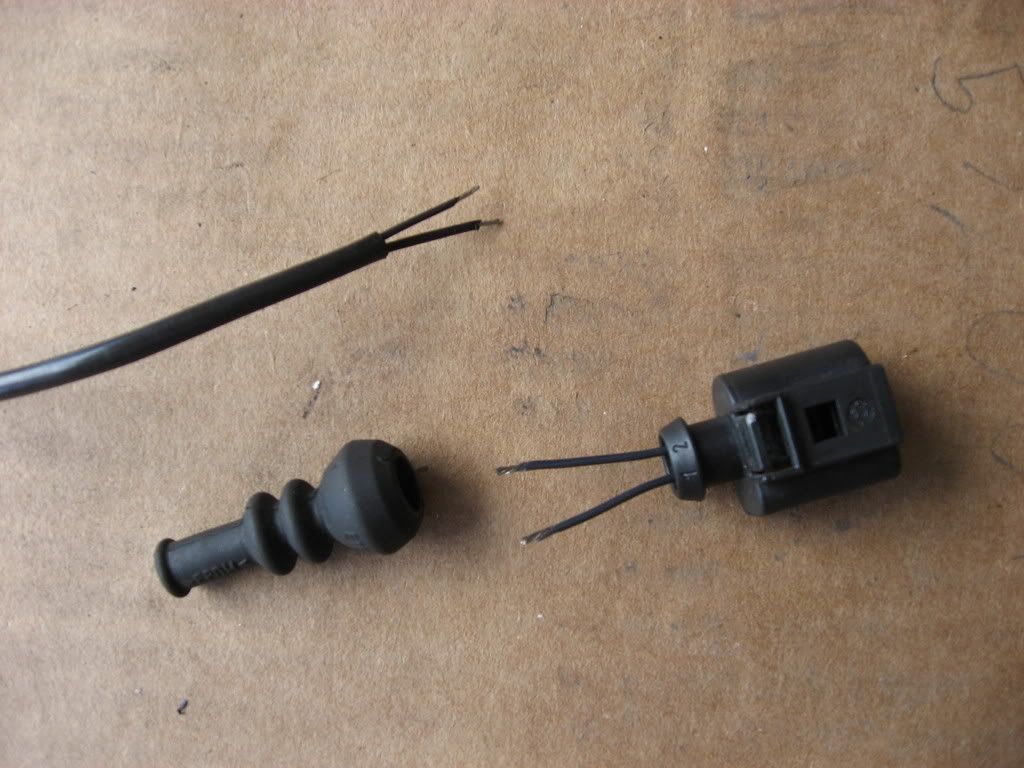
6) The correct front pads are the 915-3 with 1 sensor on the driver side only. Since there are none I know of available of the 915-3, I used the 915-1 which is the exact same pad pattern with the 1 sensor on the driver side, except that the sensor clip is different. You can choose to 'loop' the sensor and eliminate that feature or you can graft the old stock plug on to the new pad sensor wire like I did (the stock wiring boot covers the wire joint nicely).
![Image]()
![Image]()
![Image]()
![Image]()
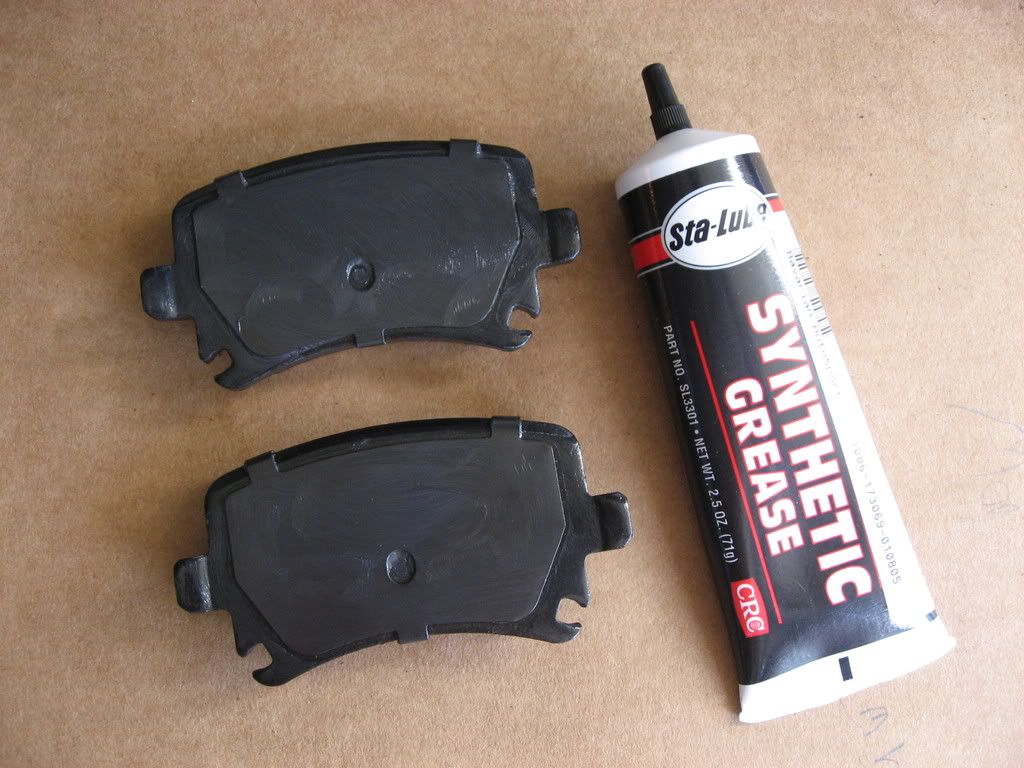
7) A good synthetic grease is recommended on the mating surfaces of the pad to the caliper piston/bracket, and the contact surfaces of the pad at the caliper bracket. I use a thin coat and so far the brakes have been silent.
![Image]()
8) Re-assembly is the reverse of dis-assembly, do not over tighten the caliper guide bolts during re-assembly and be careful not to cross thread these bolts as well.
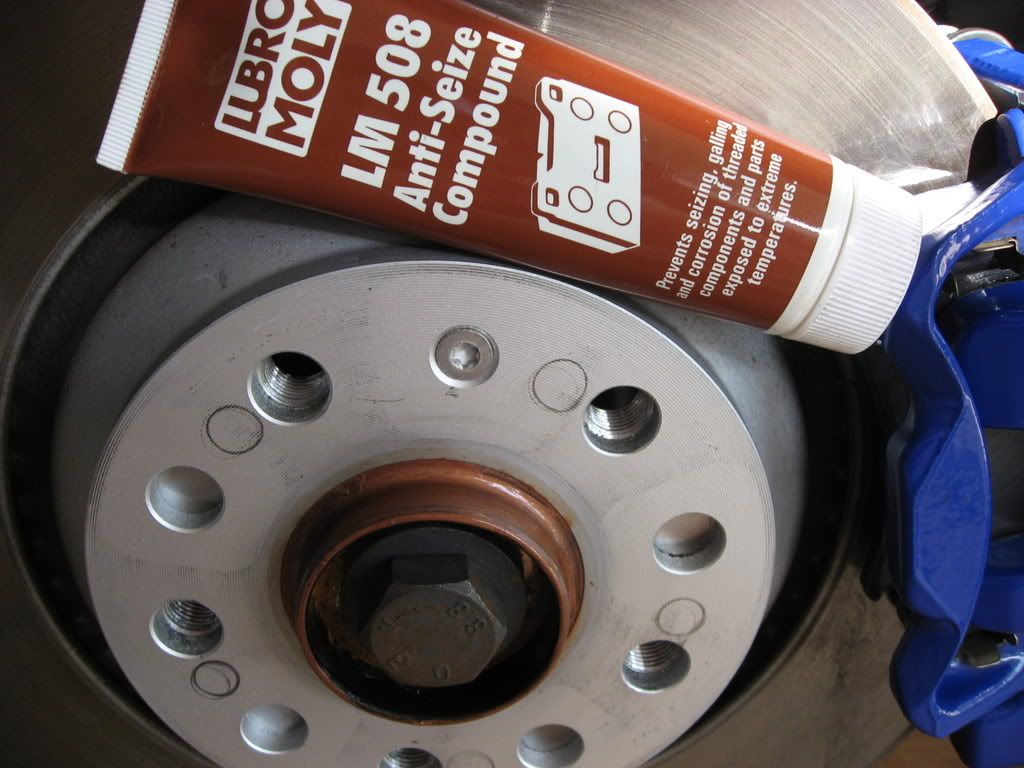
9) A thin coat of anti-seize where the hub meets the wheel is also recommended.
![Image]()
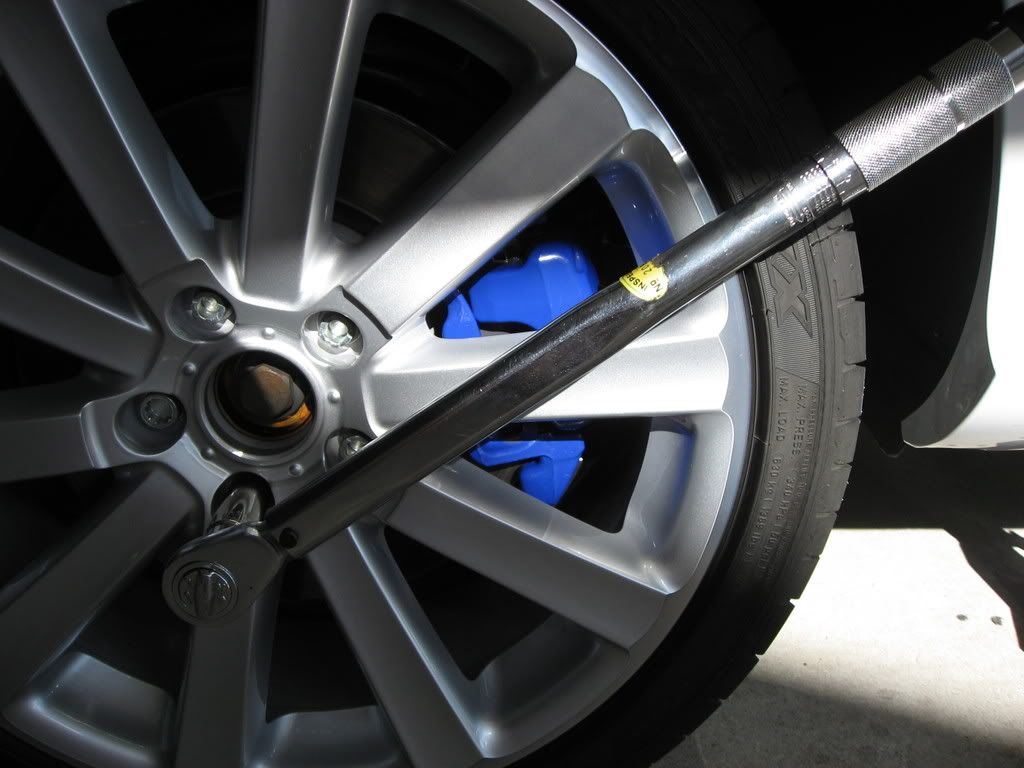
10) Finally, don't forget to torque to the correct rating. I don't know what the torque rating for the lug bolts are on the R32, but I have always run 80 ft lbs on my BMWs and so that is what I used.
![Image]()
Usual disclaimers applies to this DIY, I have attempted to be as detailed as I can, but if you have specific questions, I will be glad to answer based on my experience. Make sure your car is properly supported and secured before you work on it.
Modified by AsianDude at 10:58 PM 7-20-2008
My little contribution to this board...
1) Make sure you have your favorite brake pads

2) View of front calipers

3) Remove clip from caliper, pry up and then out, there is a 'tab' that is sloted into the outside pad clip you can see in the pictures below. You need to pry the clip up till the 'tab' clears the pad clip slot before you can get it outwards towards you. This clip is going to come off with some force, and it very well will scuff off a small portion of the caliper paint.

4) Remove both caliper guide bolts with a 7mm hex key, these guide bolts are covered behind 2 plastic caps on the back side of the caliper.

5) Upon removal of the 2 caliper guide bolts, the caliper will slide out and away from the brake disc and you can then remove both inner and outer pads. Remember to have someting to hold the caliper while its off the carrier, do not let it hang on the brake line.
6) The correct front pads are the 915-3 with 1 sensor on the driver side only. Since there are none I know of available of the 915-3, I used the 915-1 which is the exact same pad pattern with the 1 sensor on the driver side, except that the sensor clip is different. You can choose to 'loop' the sensor and eliminate that feature or you can graft the old stock plug on to the new pad sensor wire like I did (the stock wiring boot covers the wire joint nicely).
7) A good synthetic grease is recommended on the mating surfaces of the pad to the caliper piston/bracket, and the contact surfaces of the pad at the caliper bracket. I use a thin coat and so far the brakes have been silent.
8) Re-assembly is the reverse of dis-assembly, do not over tighten the caliper guide bolts during re-assembly and be careful not to cross thread these bolts as well.
9) A thin coat of anti-seize where the hub meets the wheel is also recommended.
10) Finally, don't forget to torque to the correct rating. I don't know what the torque rating for the lug bolts are on the R32, but I have always run 80 ft lbs on my BMWs and so that is what I used.
Usual disclaimers applies to this DIY, I have attempted to be as detailed as I can, but if you have specific questions, I will be glad to answer based on my experience. Make sure your car is properly supported and secured before you work on it.
Modified by AsianDude at 10:58 PM 7-20-2008
")


