

YEAH!!! Another boring "how-to" on how to add a cupholder to the center console on your MK2.
First things first, you need a DIN cupholder. I bought mine on eBay (eBay motors-->car and truck parts-->interior-->cupholder). I got it from this seller (whom happen to have none in stock right now
![Image]()
). It's a universal model.
http://search.ebay.ca/_W0QQsassZhk20000QQhtZ-1
It will be installed in the top part of the console, above the ashtray. SO the cupholder must NOT be deep or else it will hit the plastic cover of the heater box (behind the console, duh).
Tools needed:
-2 sharp cutters (one big, one small)
-Short screws (one inch MAX), about 10-12 of them
-Screwdriver (matching screw type, phillips or square)
!!WARNING!! Cutters are extremely sharp, BE CAREFUL. Always cut while moving it AWAY from yourself. It cuts easely through plastic, human flesh is a lot softer. You can severely injure yourself if you are not careful. I am not responsible for any injuries done to yourself, other people, your domestic animal and your console.
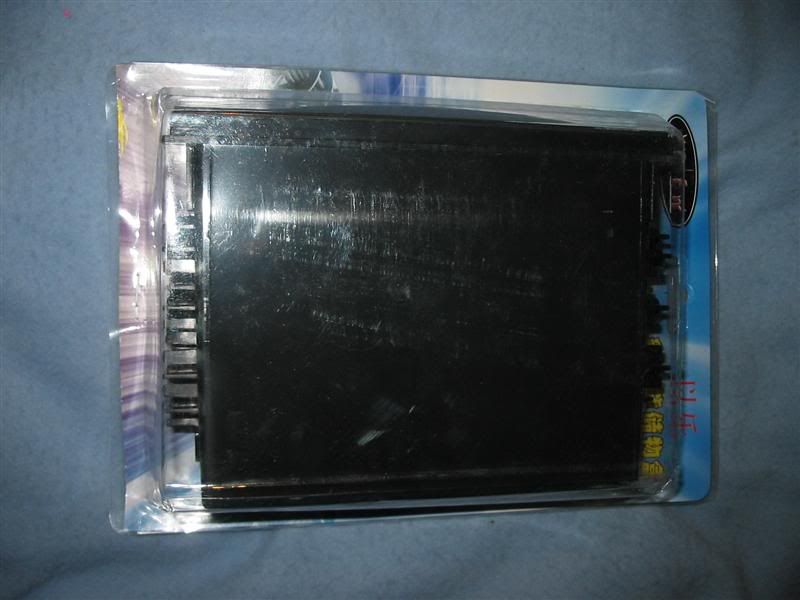
Step one, GET A DAMNED CUPHOLDER!
The one I bought, is some asian language (JDM WOOT
![Image]()
)
![Image]()
![Image]()
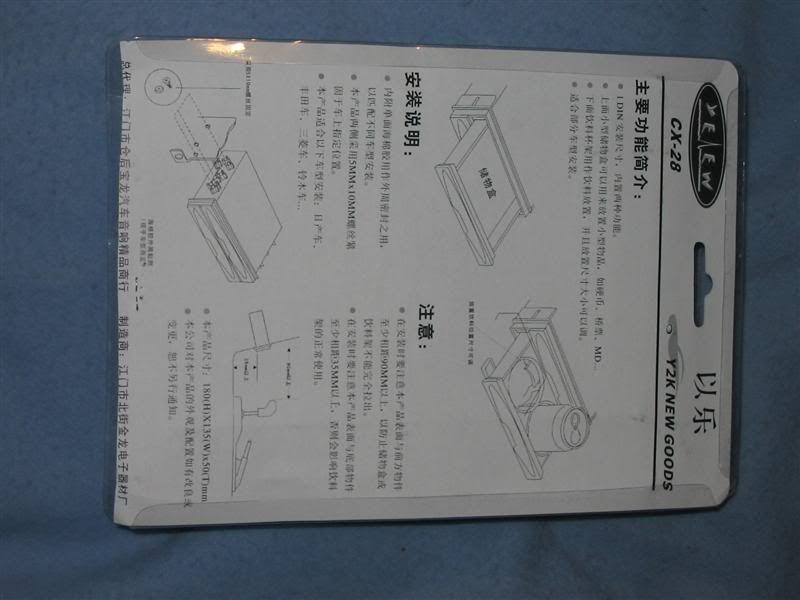
Instructions
![Image]()
![Image]()
Now take the console out of the car. Remove the shift knob and boot. There's one screw inside the shifter box and two others on each side of the console. Disconnect the cigarette lighter's wiring. Put the car in 2nd or 4th gear. You'll have to twist the console on it's side to remove it. Completely backing up the seats is a good idea.
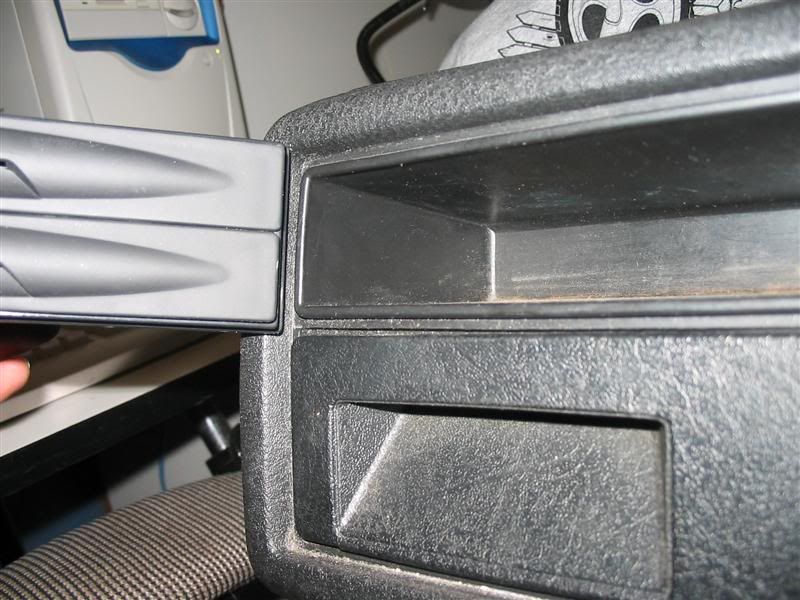
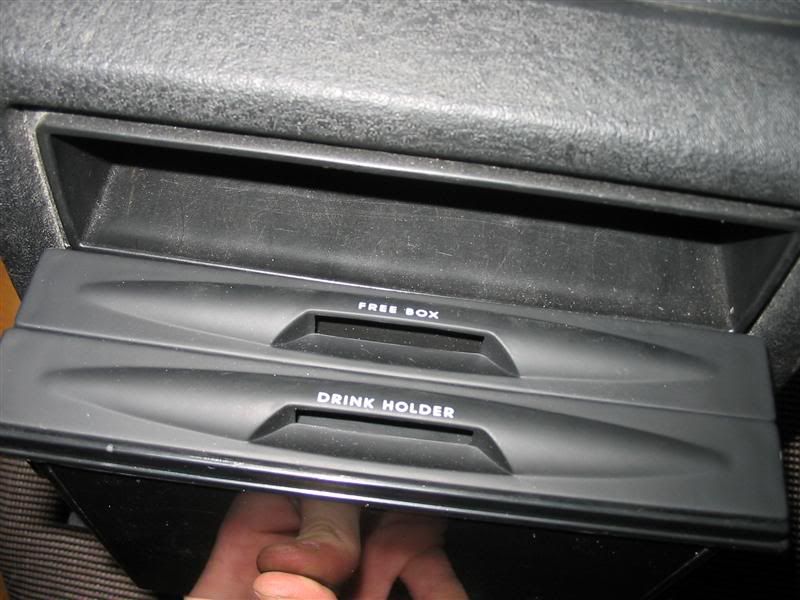
Next, checking dimensions
![Image]()
![Image]()
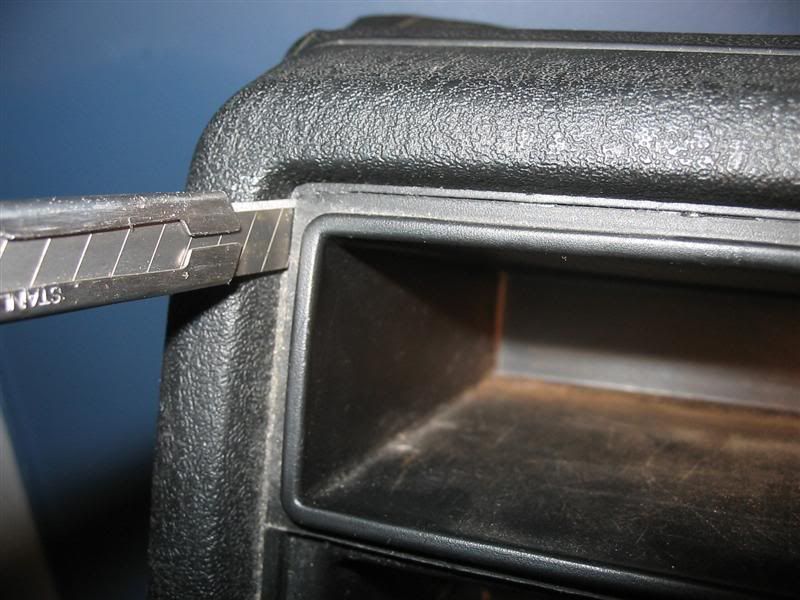
Looking good, next up is cutting away the small cubby box. Using the small cutter (for better control), SLOWY cut the plastic. It's pretty soft, don't use brute force. Do many passes to gauge the strenght needed. Take your time, you don't want to **** this step up.
![Image]()
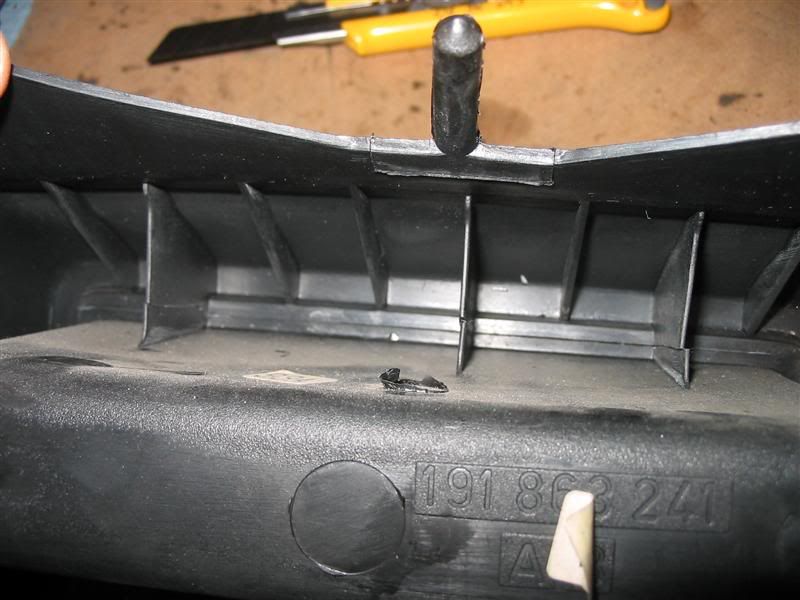
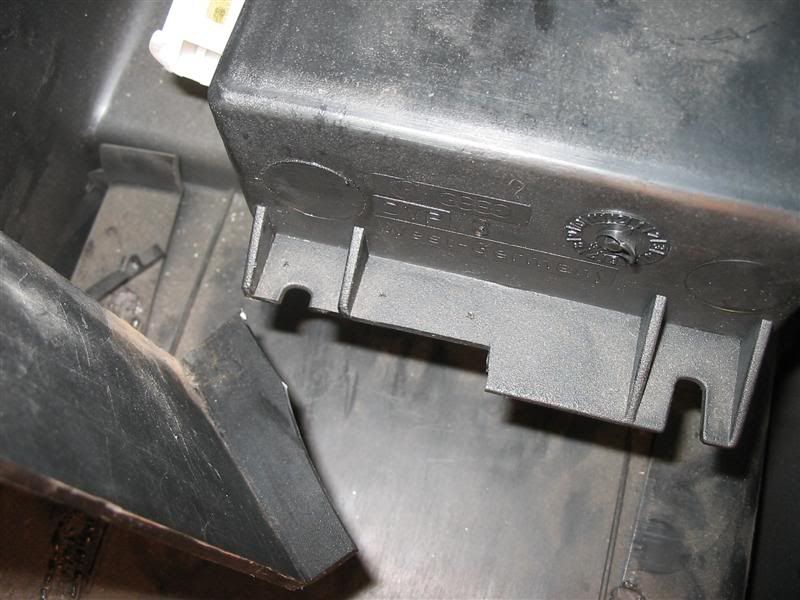
From inside the console, you'll have to cut through these three ridges using the big cutter (for more strenght), there's another one on the bottom right of the box, connecting to the ashtray.
![Image]()
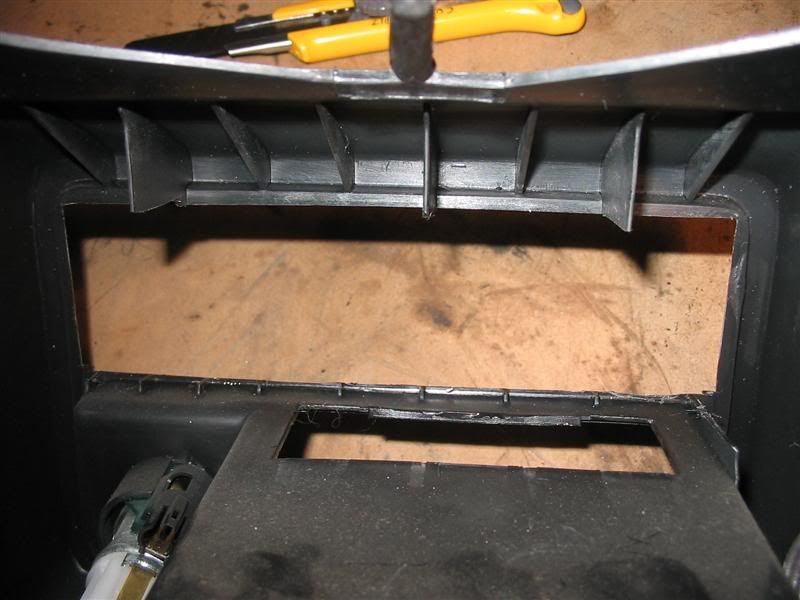
Cubby box is out. You can see the bottom right ridge that was cut. At this point, you'll want to remove the transparent plastic piece that will be snapped into the ashtray. You can dispose of it if you want, it's used as a refractor to light up the inside of the ashtray (pretty useless to see old cigarette ashes). Mine didn't fit with the cupholder installed anyway. Back view.
![Image]()
Front view.
![Image]()
You can see on this picture a little ridge that goes the width of the ashtray with small perpendicular ridges. You may have to cut these ridges off to properly fit the ashtray. Do a test first to see if you need to. Seeing I had to, I used the small cutter to remove them. Again, take your time.
![Image]()
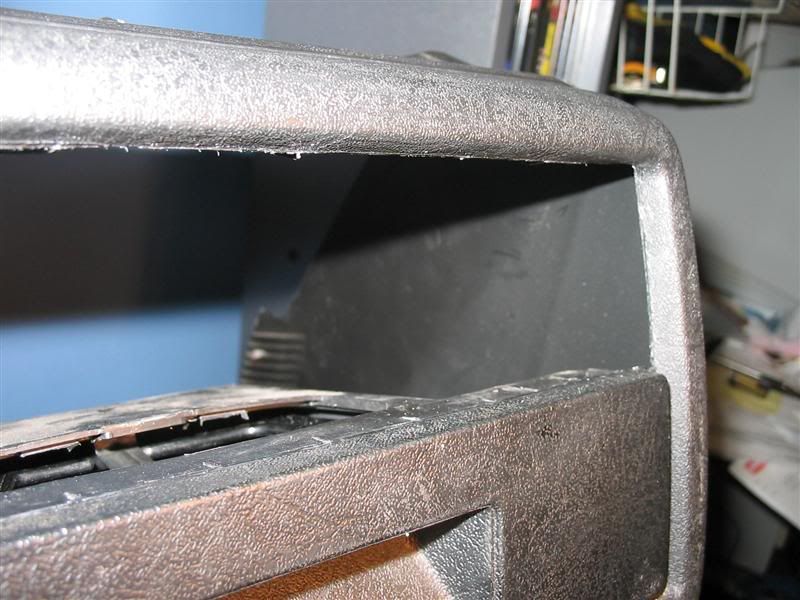
Ridges are off. See how the edge is now flush with the ashtray's front panel? Exactly how I wanted it. I also removed the side and top ridges for clearance.
![Image]()
Test fitting, perrrrrfect! Now is the time to decide on the angle you want the cupholder to open. I raised the rear a bit to make it more horizontal. Clearance is an issue here so don't go crazy and install it completely horizontal, it won't fit in the car.
![Image]()
Obviously the cupholder won't magically stay in place, you'll need some brackets. Remember the cubby box you removed earlier? Yep you're gonna need it. Use it to cut the bracket that will hold the back of the cupholder, like this.
![Image]()
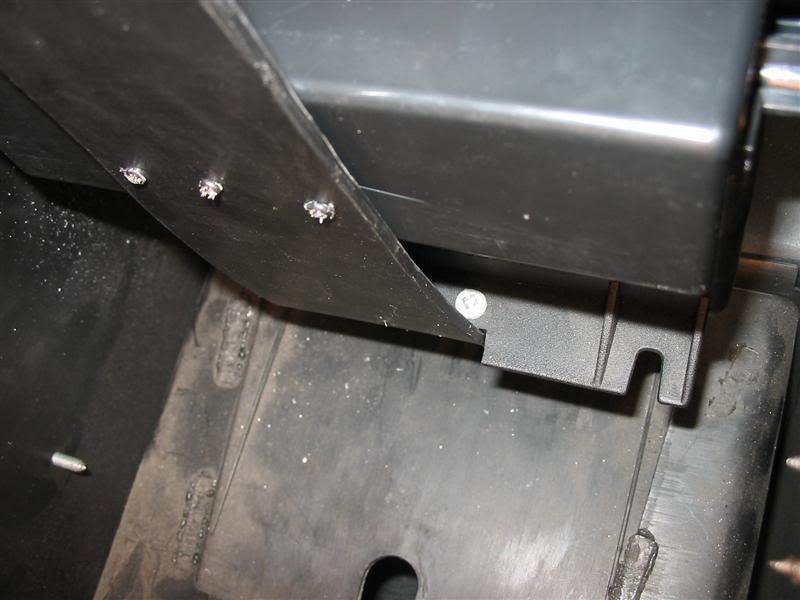
Here's the bracket and where it will be mounted. You'll need to cut a bit of the ashtray's back to make it fit properly and trim the bracket a bit. The three marks you see on the ashtray are the location of the mounting screws.
![Image]()
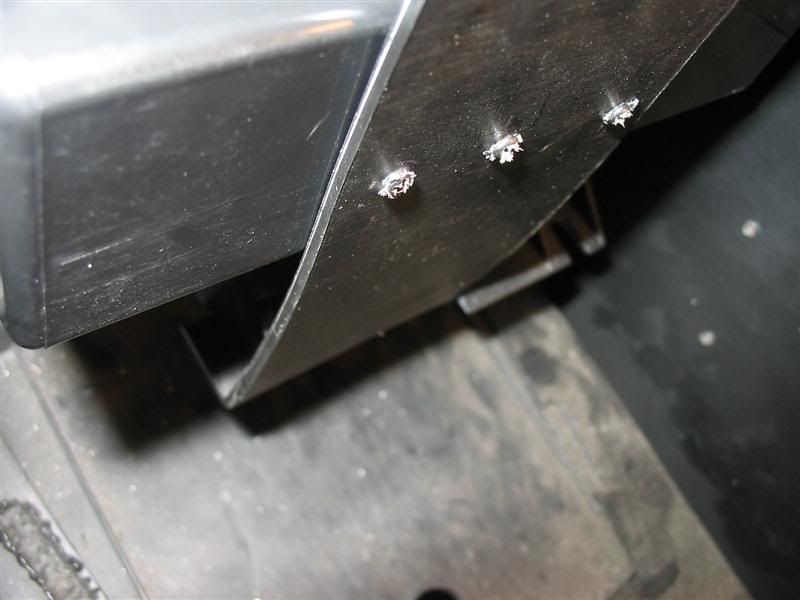
Here you can see how it's mounted. Notice the three small screws on the bracket holding the back of the cupholder. They have to be short as to not interfere with the trays inside. Right side.
![Image]()
Left side.
![Image]()
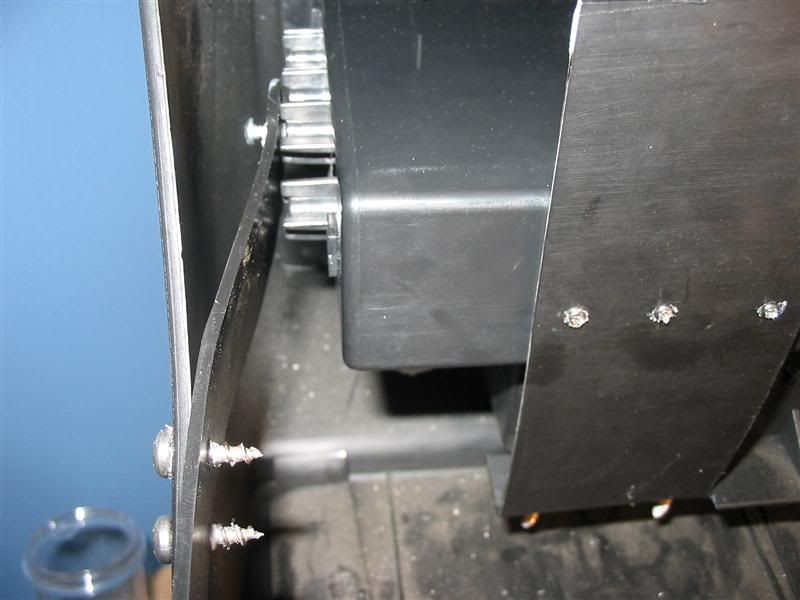
Using what's left of the cubby box, I cut two other brackets to hold the sides of the cupholder. I mounted them to the cupholder then bend them to reach the side of the console. I then used two screws to hold them in place. Left side, right side is the same. Trim any part that's not flush with the console's edge. Also trim the L shaped bracket to make it flush with the top of the cupholder.
![Image]()
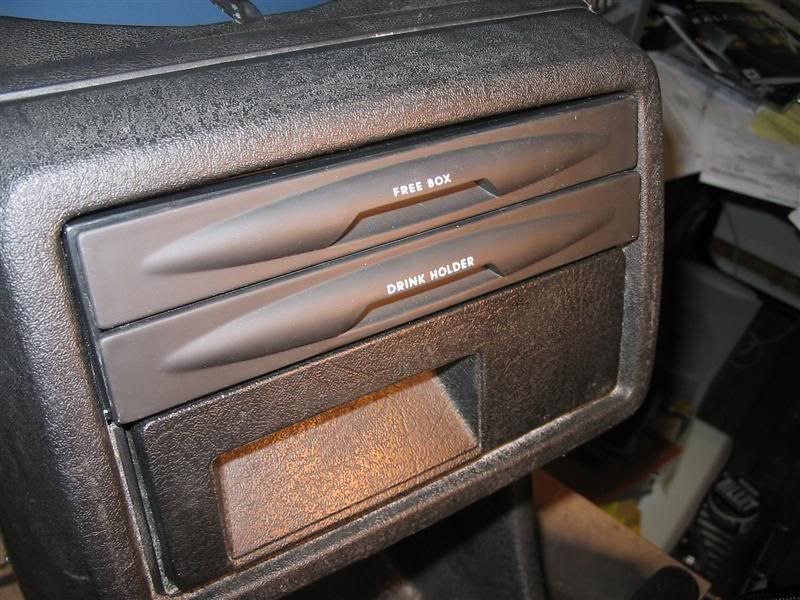
Here is the final product.
![Image]()
At first I was scared it wouldn't fit back in the car due to the heater box. It's an extremely tight fit, I had to push it in a bit to screw the console back on. Sorry no pics of it installed, I'll snap a few later.
!!Update!!
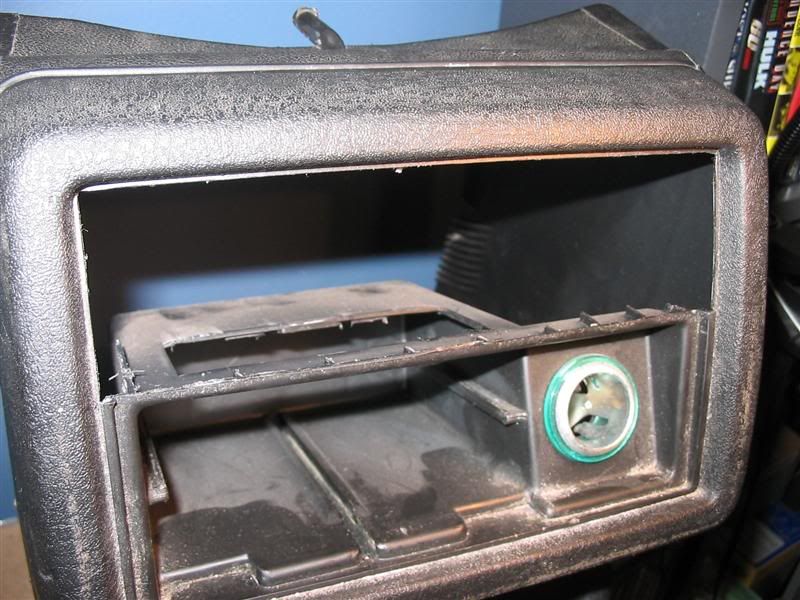
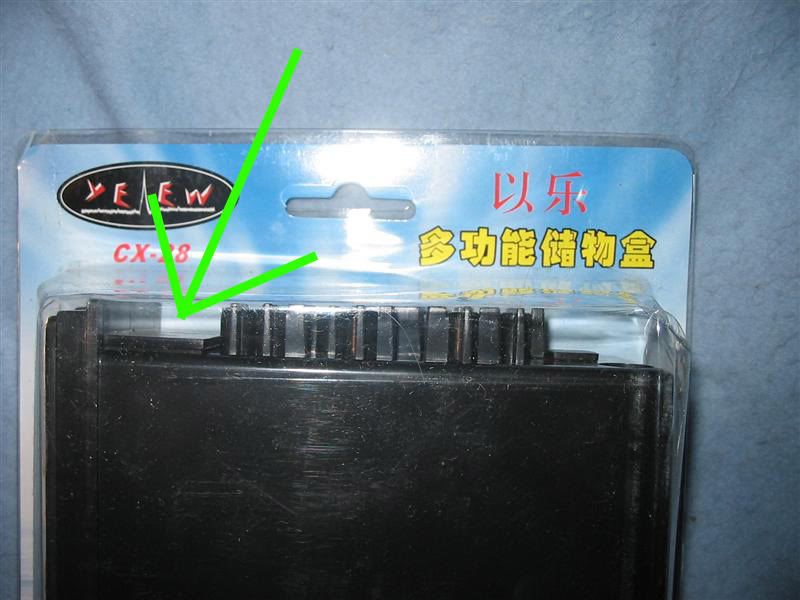
Turned out the unit was wayyy to much at an angle making my Mcdonald drink unstable and hitting the heater vents. Instead of moving upward the back end of the cupholder I decided to grind a bit of the tray do that it sits at an angle when out.
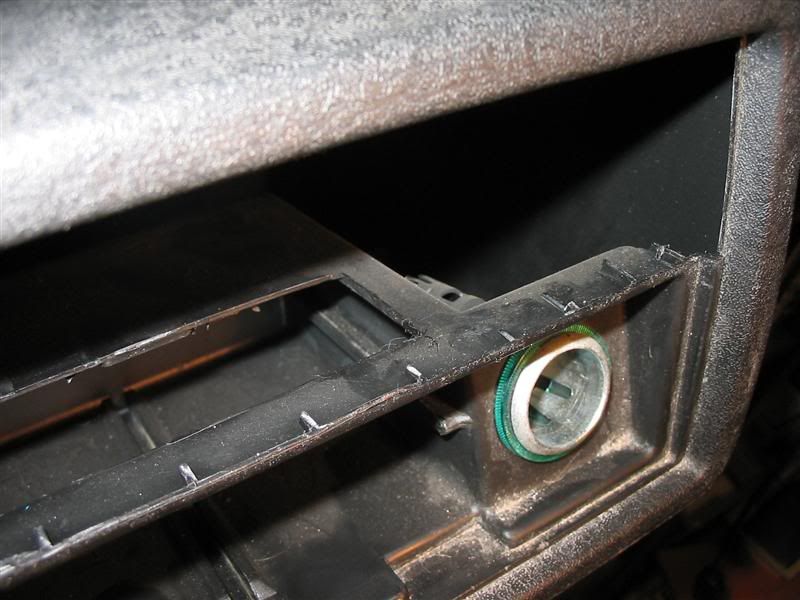
To remove the tray you need to pop off a plastic stopper (green arrow points at it, duh). It's glue pretty good there but it will come off.
![Image]()
To prevent the tray from coming out of the box, I screwed two short screws right at the same location as the plastic stoppers but on the underside of the unit. The screws catch the end of the tray when it's out. Sorry no pics of it but it's pretty self-explanatory when you'll get there.
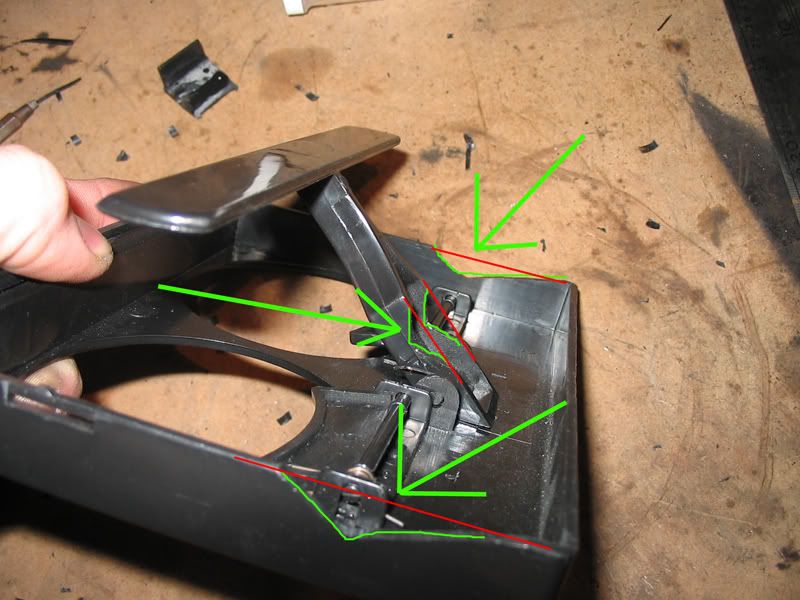
The green lines are where I trimmed the tray and the red lines shows how it was before.
![Image]()
Total time is about an hour and a half to two hours. If you have any questions, go ahead.
![Image]()
![Image]()
Modified by Black Smokin' Diesel at 1:05 AM 10-22-2006
First things first, you need a DIN cupholder. I bought mine on eBay (eBay motors-->car and truck parts-->interior-->cupholder). I got it from this seller (whom happen to have none in stock right now

http://search.ebay.ca/_W0QQsassZhk20000QQhtZ-1
It will be installed in the top part of the console, above the ashtray. SO the cupholder must NOT be deep or else it will hit the plastic cover of the heater box (behind the console, duh).
Tools needed:
-2 sharp cutters (one big, one small)
-Short screws (one inch MAX), about 10-12 of them
-Screwdriver (matching screw type, phillips or square)
!!WARNING!! Cutters are extremely sharp, BE CAREFUL. Always cut while moving it AWAY from yourself. It cuts easely through plastic, human flesh is a lot softer. You can severely injure yourself if you are not careful. I am not responsible for any injuries done to yourself, other people, your domestic animal and your console.
Step one, GET A DAMNED CUPHOLDER!
The one I bought, is some asian language (JDM WOOT


Instructions

Now take the console out of the car. Remove the shift knob and boot. There's one screw inside the shifter box and two others on each side of the console. Disconnect the cigarette lighter's wiring. Put the car in 2nd or 4th gear. You'll have to twist the console on it's side to remove it. Completely backing up the seats is a good idea.
Next, checking dimensions
Looking good, next up is cutting away the small cubby box. Using the small cutter (for better control), SLOWY cut the plastic. It's pretty soft, don't use brute force. Do many passes to gauge the strenght needed. Take your time, you don't want to **** this step up.
From inside the console, you'll have to cut through these three ridges using the big cutter (for more strenght), there's another one on the bottom right of the box, connecting to the ashtray.
Cubby box is out. You can see the bottom right ridge that was cut. At this point, you'll want to remove the transparent plastic piece that will be snapped into the ashtray. You can dispose of it if you want, it's used as a refractor to light up the inside of the ashtray (pretty useless to see old cigarette ashes). Mine didn't fit with the cupholder installed anyway. Back view.
Front view.
You can see on this picture a little ridge that goes the width of the ashtray with small perpendicular ridges. You may have to cut these ridges off to properly fit the ashtray. Do a test first to see if you need to. Seeing I had to, I used the small cutter to remove them. Again, take your time.
Ridges are off. See how the edge is now flush with the ashtray's front panel? Exactly how I wanted it. I also removed the side and top ridges for clearance.
Test fitting, perrrrrfect! Now is the time to decide on the angle you want the cupholder to open. I raised the rear a bit to make it more horizontal. Clearance is an issue here so don't go crazy and install it completely horizontal, it won't fit in the car.
Obviously the cupholder won't magically stay in place, you'll need some brackets. Remember the cubby box you removed earlier? Yep you're gonna need it. Use it to cut the bracket that will hold the back of the cupholder, like this.
Here's the bracket and where it will be mounted. You'll need to cut a bit of the ashtray's back to make it fit properly and trim the bracket a bit. The three marks you see on the ashtray are the location of the mounting screws.
Here you can see how it's mounted. Notice the three small screws on the bracket holding the back of the cupholder. They have to be short as to not interfere with the trays inside. Right side.
Left side.
Using what's left of the cubby box, I cut two other brackets to hold the sides of the cupholder. I mounted them to the cupholder then bend them to reach the side of the console. I then used two screws to hold them in place. Left side, right side is the same. Trim any part that's not flush with the console's edge. Also trim the L shaped bracket to make it flush with the top of the cupholder.
Here is the final product.

At first I was scared it wouldn't fit back in the car due to the heater box. It's an extremely tight fit, I had to push it in a bit to screw the console back on. Sorry no pics of it installed, I'll snap a few later.
!!Update!!
Turned out the unit was wayyy to much at an angle making my Mcdonald drink unstable and hitting the heater vents. Instead of moving upward the back end of the cupholder I decided to grind a bit of the tray do that it sits at an angle when out.
To remove the tray you need to pop off a plastic stopper (green arrow points at it, duh). It's glue pretty good there but it will come off.
To prevent the tray from coming out of the box, I screwed two short screws right at the same location as the plastic stoppers but on the underside of the unit. The screws catch the end of the tray when it's out. Sorry no pics of it but it's pretty self-explanatory when you'll get there.
The green lines are where I trimmed the tray and the red lines shows how it was before.
Total time is about an hour and a half to two hours. If you have any questions, go ahead.

Modified by Black Smokin' Diesel at 1:05 AM 10-22-2006


