

DIY: Outer Window Door Scrapers
Difficulty: 1.5 - 2/5
Time: 1hr
Tools Needed: Dremel and razor
These will not doubt be another NLA part, but as of right now...
If you want OEM new contact 1stvwparts.
Part #:535-837-474-A-01C (Right Side) $111
Part #:535-837-473-A-01C-CP (Left Side) $101
This is an alternative solution at a fraction of the cost, so I thought I would post up as a DIY. Vortexer Nastyboost35 found what looks to be the best fit that only requires minor modification.
*You are responsible for your own actions.
So, head out to the junkyard and pull the scrapers from a Mercury Cougar Coup at $10 to $15 for the pair. Be smart when pulling them, so they don't bend.
Modify:
1: Pull your old window scrapers, but take your time if you don't want to bend the crap out of them or damage any paint.
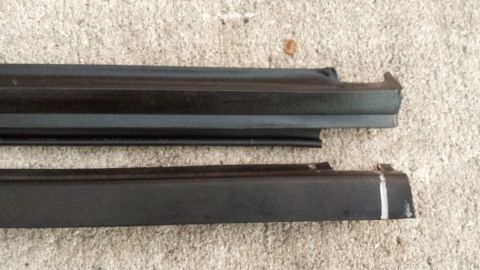
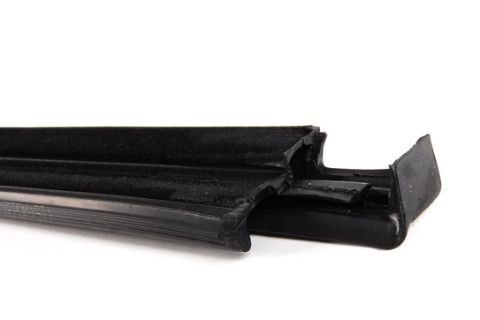
2: With your razor cut the front of the scraper to match the OEM. You may have to use the dremel a little if there's too much. Also, carefully cut the thick bottom scraper as seen in the pic all the way off down to the end.
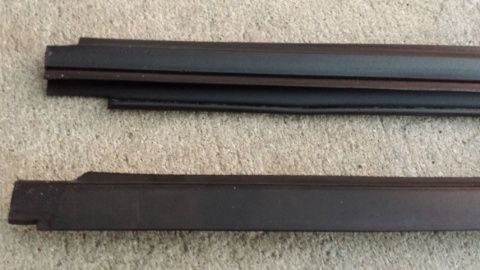
Before Cutting. Need to cut and clean any dirt trapped.
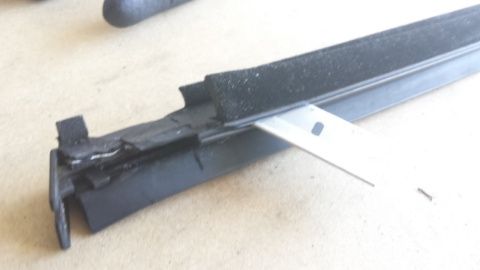
3: The Cougar scrapers are a few inches too long. Line up the two and mark to cut using a dremel tool. Match up the angle of the OEM part. Don't for get to pull the end caps off of the Cougar scrapers to use later on. The only part that doesn't look OEM is the rear cut out for the window rubber the comes down. I leave this part up to you how you want to cut it or not.
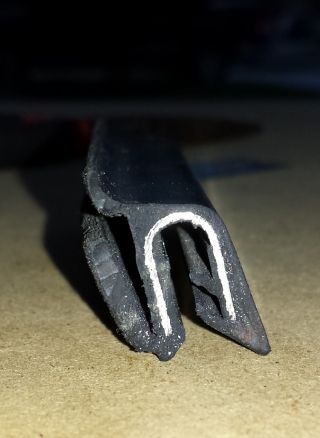
4: Looking at the inside of both scrapers at the end you will see the cougar piece will have to be cut to match the last inch or so. You can also see it in the second picture.
5: Clean it. The Cougar scraper collected dirt from the bottom piece that you cut off. This needs to be cleaned out throughly.
Install and adjust:
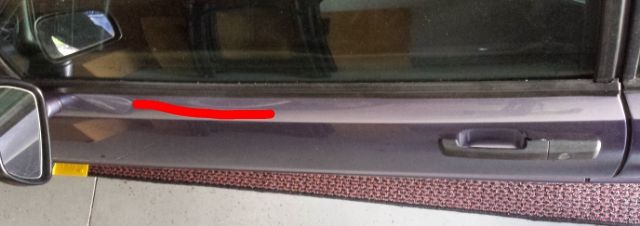
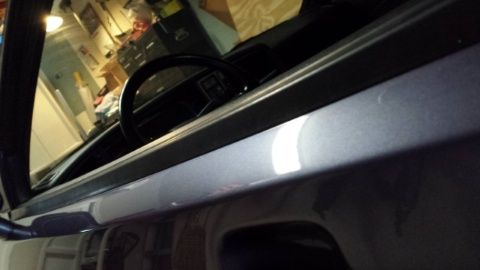
1: The picture below shows the red line where the window will push against the scraper the most as it goes up and down. With the window DOWN; Start by inserting the front so that it tucks into the plastic triangle. Lightly push down only a few inches going toward the middle. (Don't press down in red line area yet) Line up the rear and press down lightly again so it stays in the track. You only want to set the seal in the gap and check for length. Now you can press down on all of the seal starting from front to back, again not too much.
Tuck.

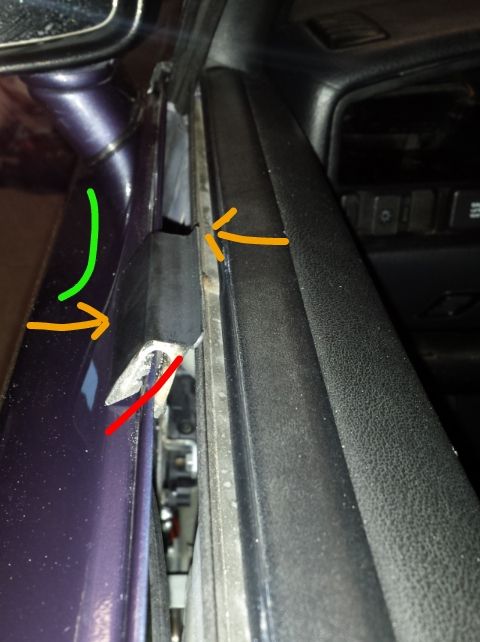
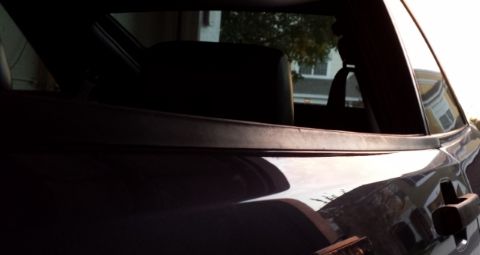
2: 2nd picture example that shows the seal pressed down too far. As you push down on the seal it will push in to the window. The red line shows indicates bad angle. Too far and it won't allow the window to move freely. You want to push down a little more the last 4 or 5 inches to help secure it down. The green and orange lines show how you can make adjustments.
Note: This is the part will you will be adjusting how much you can push down by moving the window up and down to make sure there is a little or no resistance.
3: It's optional if you want to secure the last 2 or 4 inches of the seal to help keep it down. This would be a good idea if you are daily driving your car. I don't recommend squeezing the scraper to get a tighter fit, because it can deform the rubber.
4: The end cap can be put back on, but you need to cut the insert down to an eighth of an inch so it will sit flush. Once you have the proper angle then use an adhesive (window sealant) to secure it. You can see this in the 2nd pic at the top.
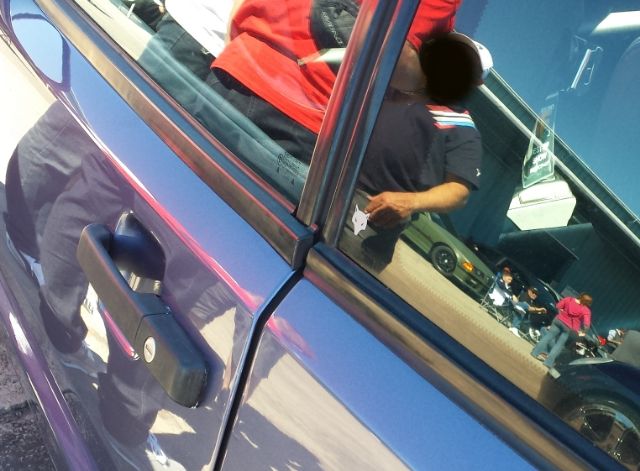
Final outcome:
Thanks goes out to Nastyboost35 for sourcing it and my former job for giving me the time to do this.
Difficulty: 1.5 - 2/5
Time: 1hr
Tools Needed: Dremel and razor
These will not doubt be another NLA part, but as of right now...
If you want OEM new contact 1stvwparts.
Part #:535-837-474-A-01C (Right Side) $111
Part #:535-837-473-A-01C-CP (Left Side) $101
This is an alternative solution at a fraction of the cost, so I thought I would post up as a DIY. Vortexer Nastyboost35 found what looks to be the best fit that only requires minor modification.
*You are responsible for your own actions.
So, head out to the junkyard and pull the scrapers from a Mercury Cougar Coup at $10 to $15 for the pair. Be smart when pulling them, so they don't bend.
Modify:
1: Pull your old window scrapers, but take your time if you don't want to bend the crap out of them or damage any paint.
2: With your razor cut the front of the scraper to match the OEM. You may have to use the dremel a little if there's too much. Also, carefully cut the thick bottom scraper as seen in the pic all the way off down to the end.

Before Cutting. Need to cut and clean any dirt trapped.


3: The Cougar scrapers are a few inches too long. Line up the two and mark to cut using a dremel tool. Match up the angle of the OEM part. Don't for get to pull the end caps off of the Cougar scrapers to use later on. The only part that doesn't look OEM is the rear cut out for the window rubber the comes down. I leave this part up to you how you want to cut it or not.


4: Looking at the inside of both scrapers at the end you will see the cougar piece will have to be cut to match the last inch or so. You can also see it in the second picture.

5: Clean it. The Cougar scraper collected dirt from the bottom piece that you cut off. This needs to be cleaned out throughly.
Install and adjust:
1: The picture below shows the red line where the window will push against the scraper the most as it goes up and down. With the window DOWN; Start by inserting the front so that it tucks into the plastic triangle. Lightly push down only a few inches going toward the middle. (Don't press down in red line area yet) Line up the rear and press down lightly again so it stays in the track. You only want to set the seal in the gap and check for length. Now you can press down on all of the seal starting from front to back, again not too much.

Tuck.

2: 2nd picture example that shows the seal pressed down too far. As you push down on the seal it will push in to the window. The red line shows indicates bad angle. Too far and it won't allow the window to move freely. You want to push down a little more the last 4 or 5 inches to help secure it down. The green and orange lines show how you can make adjustments.
Note: This is the part will you will be adjusting how much you can push down by moving the window up and down to make sure there is a little or no resistance.

3: It's optional if you want to secure the last 2 or 4 inches of the seal to help keep it down. This would be a good idea if you are daily driving your car. I don't recommend squeezing the scraper to get a tighter fit, because it can deform the rubber.
4: The end cap can be put back on, but you need to cut the insert down to an eighth of an inch so it will sit flush. Once you have the proper angle then use an adhesive (window sealant) to secure it. You can see this in the 2nd pic at the top.
Final outcome:


Thanks goes out to Nastyboost35 for sourcing it and my former job for giving me the time to do this.


